When it comes to interior décor it can be hard to keep up with the latest trends and styles and stay ahead of the game. With so many programmes focused on house renovations and refurbishment, customers are always looking for new ideas to improve their homes. In this blog, we’ll look at how you can tap into one of the latest trends to create wall panelling that your customers will absolutely adore.
Wall panelling not only looks great in both traditional and contemporary homes, but it is a cost-effective service that you can offer to your clients. So, without further ado let’s look at some of the different types of wall panelling and what tools you will need to install these for your clients.
Geometric wall panels
The perfect choice for a contemporary interior, geometric wall panelling not only looks great, but it can also be customised to perfectly fit the space and create a bold and unique design that your customers will adore. Whether you are coming up with the design yourself or using a stencil as a guide, a geometric pattern is a sure-fire way to add interest to a wall without having to resort to wallpaper.
Dado style panelling
Dado wall panelling is a very traditional option that is often found in hallways and staircases in period properties, however they can also be used in bedrooms and living rooms to create a truly bespoke design. Block out with luxurious colours to create a contemporary backdrop in any home.
Square panelling
Another popular and traditional style of wall cladding is square panelling, this features square panels which overlap to create a stylish and classic look that can either be repeated to cover an entire wall or kept to the bottom half of the wall.
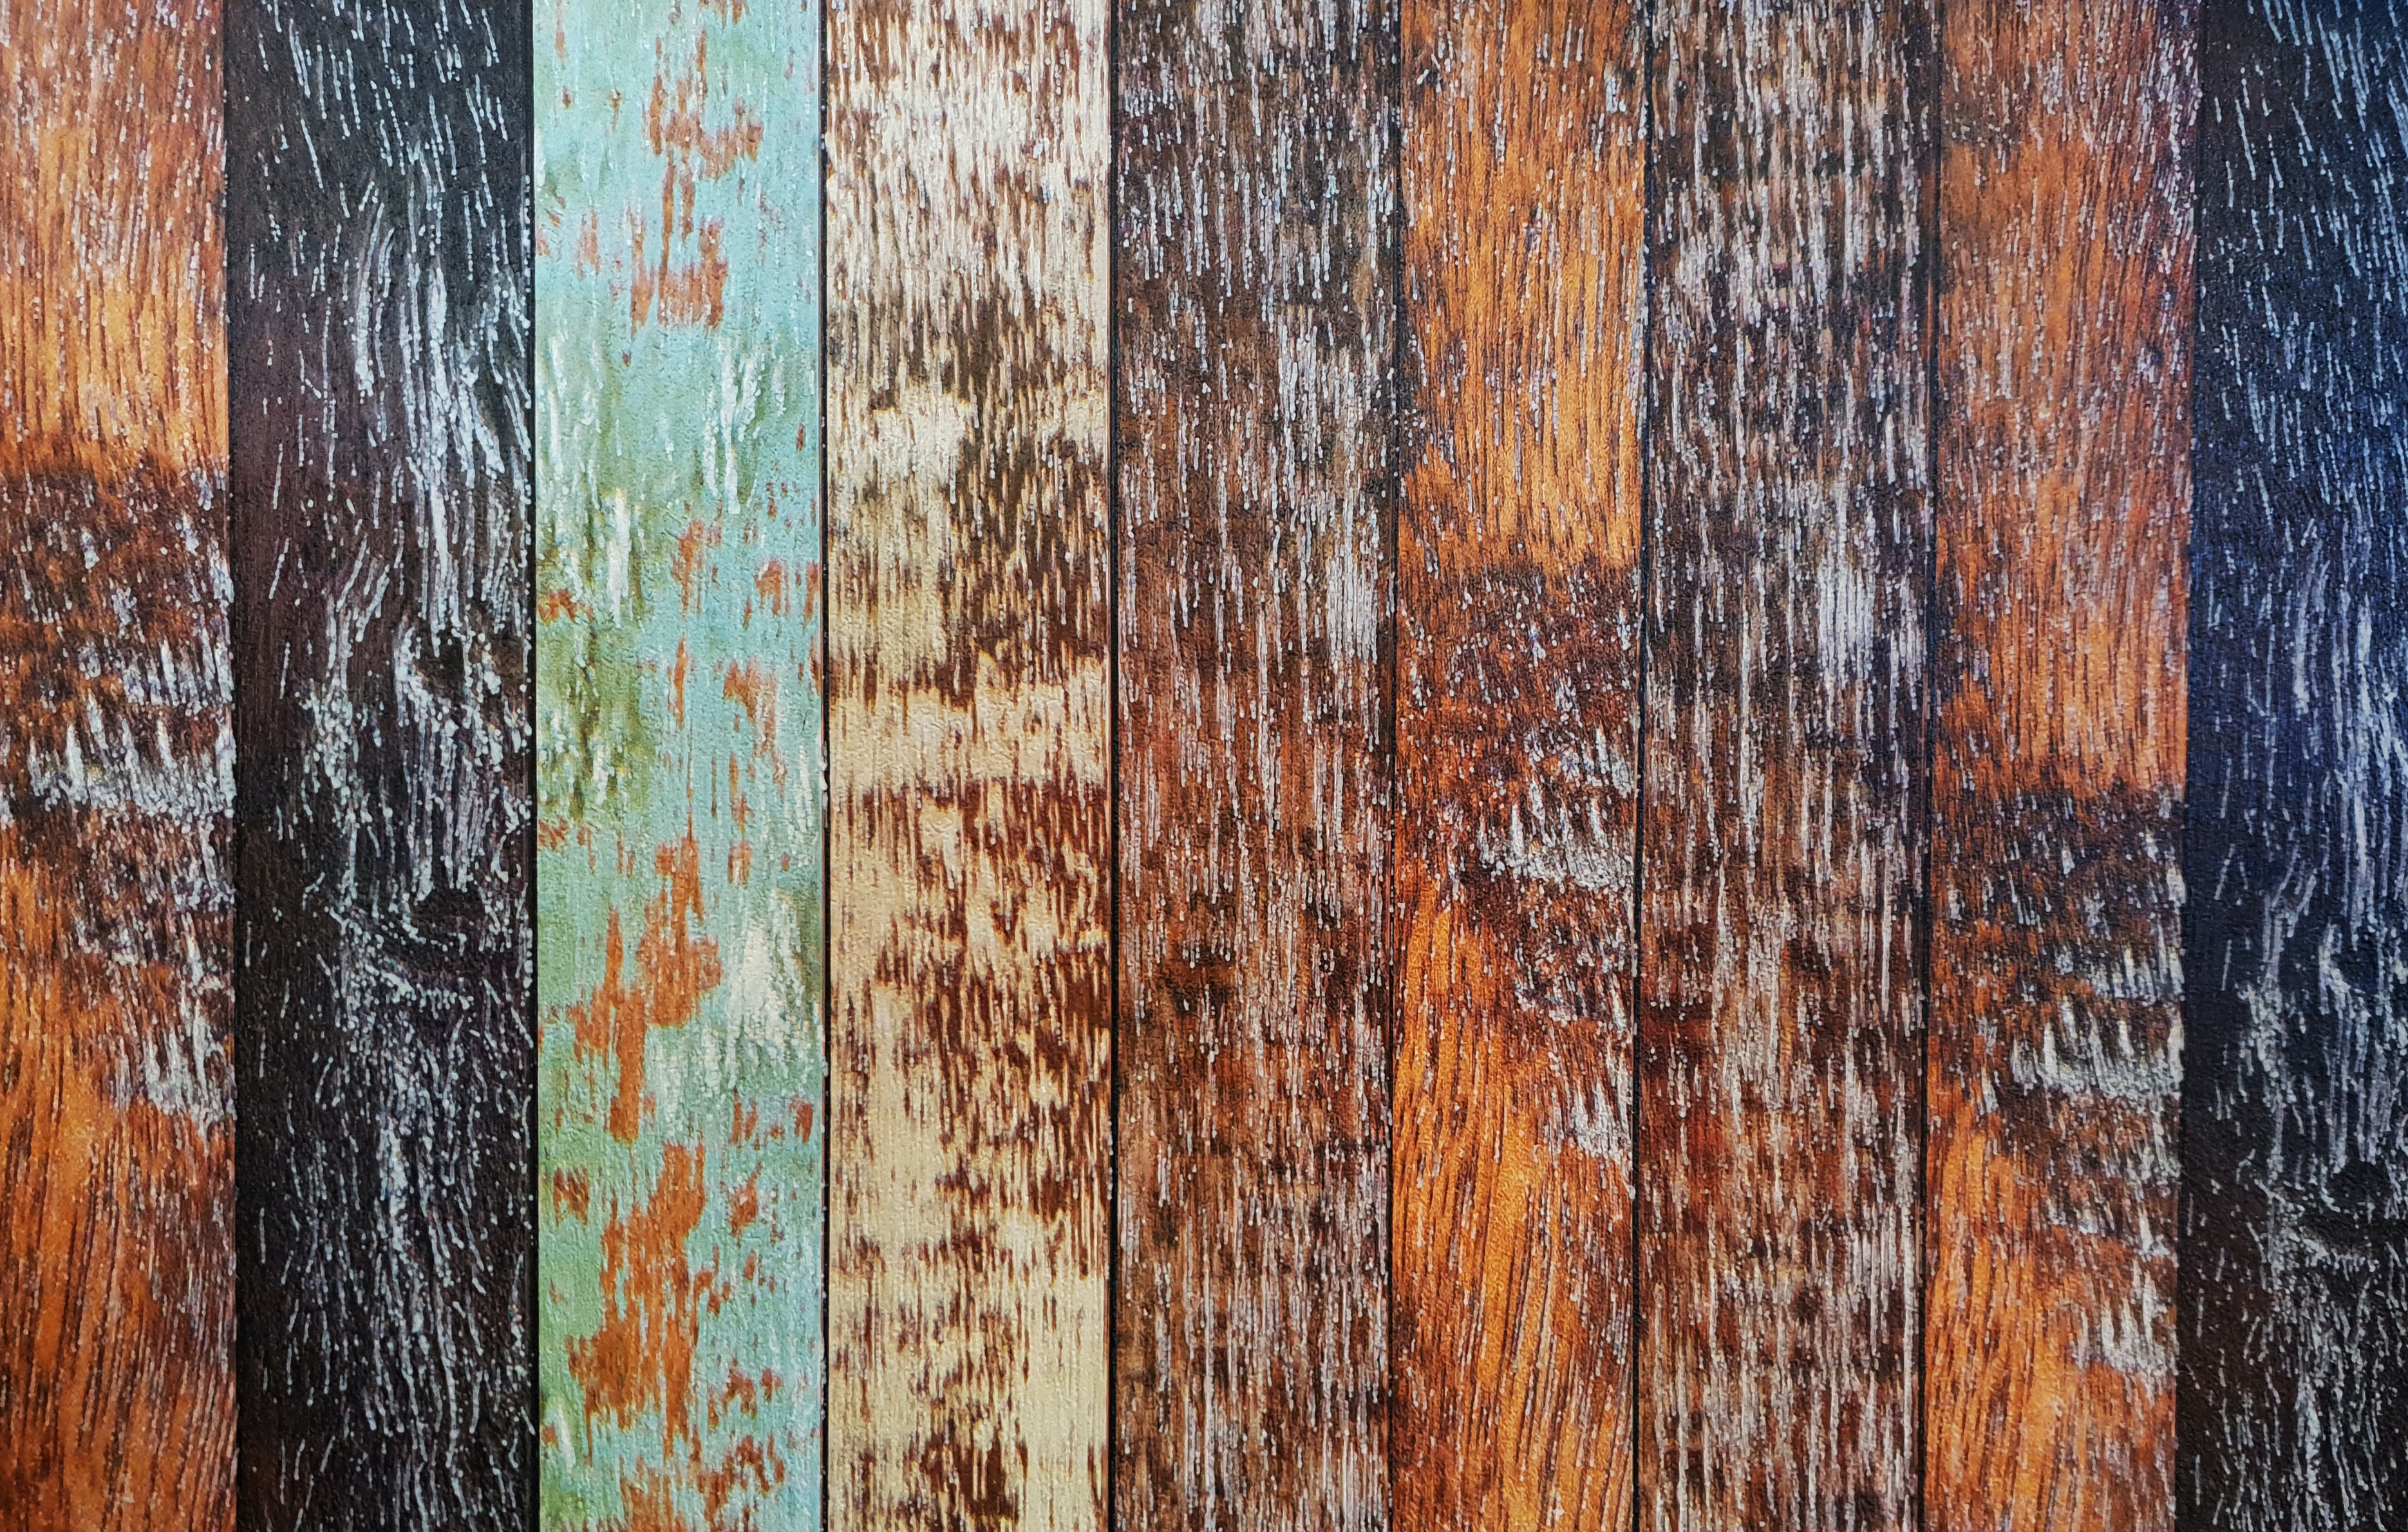
Flat plank wall panels
You’ve probably seen this finish in a range of bars and restaurants. Flat plank cladding often uses rustic, unfinished wood to create an industrial or shabby chic finish which is definitely on trend right now.
How to create the look
No matter which option you choose applying your wall panelling isn’t as hard as it looks, although it is worth practising before charging your first clients. The tools and equipment that you will need to complete the job include:
- A spirit level like this one from Stanley
- Tape measure
- Sandpaper
- Cutting in brush
- Hammer and nail pins
- Grab adhesive
- All purpose filler
- Chosen wood panelling and wood paint.
Once you have all the tools and have chosen the panelling you want you can crack on with installing it. For dado and square panelling, it is best to start by finding and marking the middle of the wall and then measuring and marking your panelling with pencil on the wall. This will help you ensure that your panelling is equally spaced, geometric designs will often not need this approach but will still need to be marked out on the wall.
With the pattern in place, you can begin the job of gluing and nailing your wooden trim panels to the wall, using your chalk or pencil lines as a guide and your spirit level to ensure they are perfectly straight. Once you have got all the timber panels in place you can start doing what you do best – painting.