How to paint your front door without removing it
Tip: Leave your front door open to let the paint dry so make sure you pick a warm spring day with no rain forecast.
Step 1. Remove the door hardware
Unscrew all the fixtures on your door including the number and letterbox. It’s much easier to remove these completely than have to paint around them. Whatever you don’t remove cover with masking tape or decorator’s tape to protect it from paint.
If you have glass panels, use decorator’s tape to stick newspaper over the top so you don’t accidentally get paint on them.
Tip: tape the screws and fixtures together this will help you in the long run so your spending ages finding the right pairs when you have to reattach them.
Step 2. Clean the door
Use a diluted general purpose household cleaner to scrub your door. Remove any debris, grease and dirt and then rinse it with clean water.
If you notice any algae or mould, you may need to use a stronger wood cleaner to remove them.
Step 3. Scrape off old paint (If already painted, if not skip to step 4)
If you’re repainting an old door, you will have to prepare the surface to get the best finish.
If there’s any flaking or bubbling paint use a flat scraper to get peel it off and make the surface smooth.
Step 4. Repair any cracks
Holes or cracks in the wood can be easily repaired with a wood filler. Once the filler is dry, sand over it to smooth it down.
Step 5. Sand it down
Use sandpaper to sand down the rest of your door. If the paint is in good condition, use wet and dry sandpaper. If the paint is in a poor condition, use medium grit followed by fine grit paper. Sand your door to even out rough and make the surface smooth.
Step 6. Wipe down with methylated spirit
When you’ve finished sanding, wipe the whole door with methylated spirit. This will remove the leftover dust and give your door a final clean.
Leave it to dry.
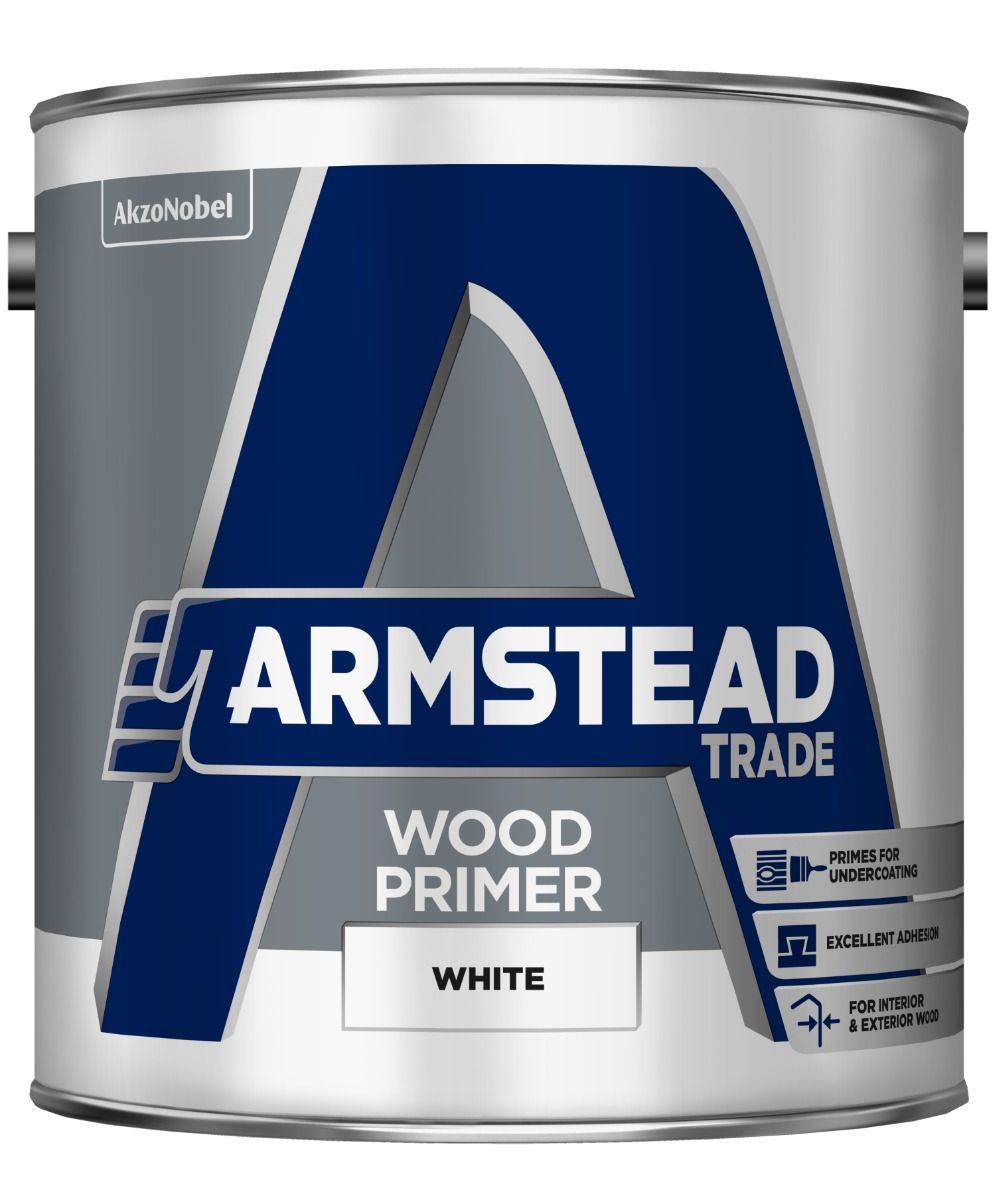
Step 7. Prime your door – (product https://paintwell.co.uk/armstead-trade-wood-primer)
If you notice spots of bare wood after removing flaking paint, you will need to use a primer.
- Apply undercoat (If changing door colour)
If you’re drastically changing the colour like going from a dark colour to a light colour, you will need to apply an undercoat first. By doing this you’ll have to apply fewer coats in the long run to get the look that you want.
Step 9. Apply the topcoat (Product https://paintwell.co.uk/zinsser-allcoat-exterior-satin-wb-anthracite)
Start with the panels and then paint the horizontal and vertical sections. Get the brush into every nook and cranny.
Leave the first coat and inspect your handiwork. If you think it needs another coat, wait for it to dry before applying. You need to leave the door open while it’s drying otherwise you may smudge the paint. Try folding up some cardboard to wedge underneath the door so it doesn’t move when it’s drying.
If you’re happy with the finished result, remove the tape while the paint is still wet.
Step 10. Add fixtures
Screw the fixtures back on when your door has dried.
Step 11. Painting the inside
If you want to paint the inside of your door too, you will need to use a paint made for interior wood. Exterior paint is made to weather the outdoors whereas interior paints can be easily cleaned.
If you want to paint the inside of your door in the same colour, we can colour match it for you so you don’t have a two-tone door.
Follow the same steps to paint the interior of your door.


