How to paint your garden fence
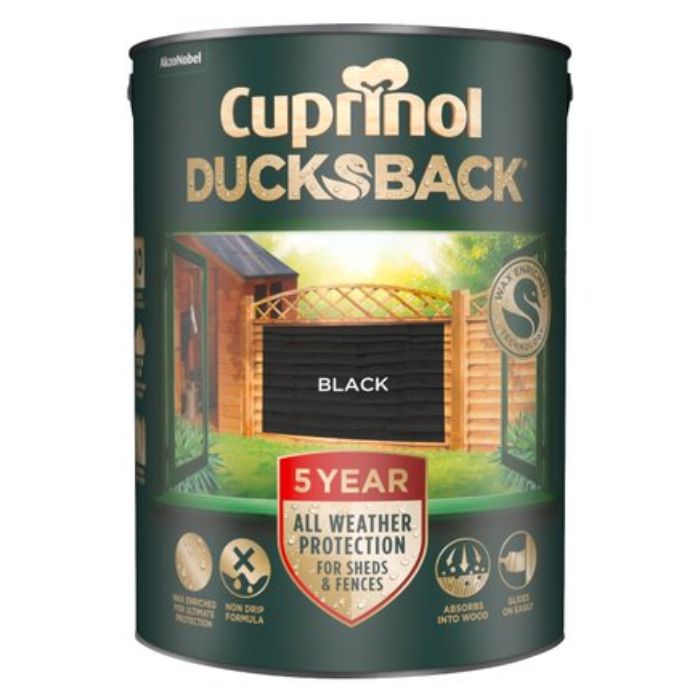
An easy guide to painting your fence so that it stands the test of time - Using Cuprinol Ducksback
Think about painting the garden fence and most of us assume it’s going to be a long, arduous process. We put it off for as long as possible and then finally give in when we see how good our neighbour’s new paint job is looking. First things first, we’re here to tell you that it doesn’t have to taxing. Pick a sunny day, pour yourself a nice beverage and follow these simple steps below.
Bonus: If you use Cuprinol Ducksback, you get five years of all-weather protection, so you can rest assured that you won’t need to repaint for a long time. Cheers, to that.
- 5L Cuprinol Ducksback in your favourite colour
- Medium pile standard roller and roller tray
- 2” Paint brush
- 1” Paint brush (for the really fiddly bits)
- Medium/course grade sandpaper or sanding pad
- Protective sheet to cover floor, grass or plants
- Stiff brush for removing loose dirt
Step 1: Brush off loose dirt
Brush away any loose debris or dirt using a stiff brush. It’s a good idea to pull out any old nails or screws sticking out of your panels and to remove any hanging baskets or objects that might be in the way. You can also sand down any rough areas or splinters that stick out from the panels to ensure they are as smooth and as flat as possible for a better finish.
Step 2: Use a paint brush for fiddly bits
Start by painting the edges and hard to reach places, such as near brick walls or delicate plants, using a 2” paint brush. You may also need a smaller 1” brush to get into awkward gaps.
Step 3: Use a roller to cover larger areas
Next up, use a medium pile standard roller to cover the larger areas of the fence. Work your way from top to bottom, using horizontal strokes for horizontal planks of wood and vertical strokes for vertical planks. Following the direction of the timber will give you a better, smoother finish and allows for a speedier application.
Step 4: Apply a second coat once dry
Once your first coat is dry, apply a second coat, repeating the steps above. This will help to give your paint colour depth, ensures a longer-lasting finish and increases your protection benefits.
Step 5: Step back and admire your hard work
Once your second coat is dry, you can remove the protective covering from your plants and admire your freshly painted fences. Safe in the knowledge that they will look great for years to come and your hard work is d

