One of the biggest things that separate a professional painter from an amateur is the amount of preparation work that is done before a paintbrush is even wielded. Not only will proper preparation lead to a much better finish but it will also save you time and money as you won’t need to redo the painting. So with that in mind let’s take a look at the top techniques and tools you will need for proper preparation.
Wash surfaces
The first step is to thoroughly wash down the surface that is to be painted. This is particularly important for woodwork and one of the keys to create a stable base for new paint. The tools you will need include a couple of buckets, sponges and detergent such as sugar soap. Using one bucket filled with detergent start from the bottom of your surface and work your way upwards. Once you have finished you will need to rinse the area using clean water and a new sponge which is why we recommend a couple of buckets.
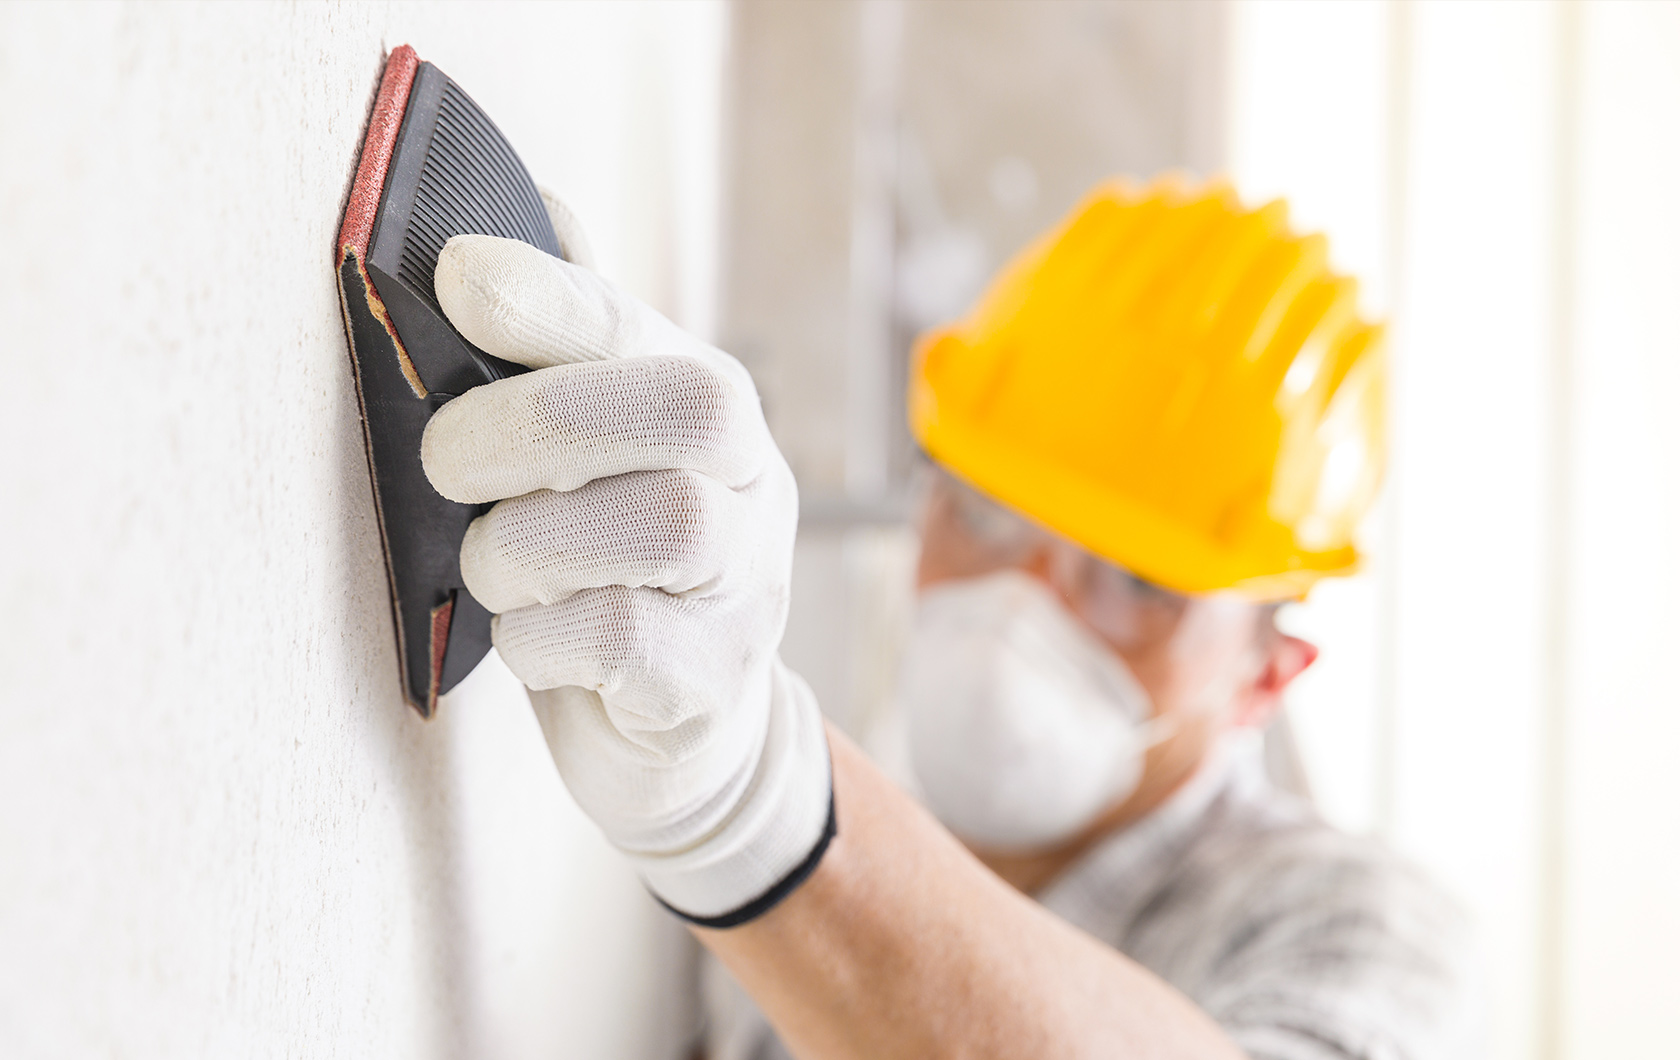
Sanding
To help get an even coat of paint on woodwork in particular it is necessary to sand the woodwork using a smooth, fine grade sand paper. For mouldings and corners sanding sponges offer flexibility helping you to get into hard to reach places. Wire wool is useful for metal work and finishing sandpaper is great for in between coats to help give a smooth finish.
Fill any holes
Once the surface has been sanded and cleaned you should be able to see if there are any holes that need filling. Using suitable filler you will need to plug any holes, cracks and chips by using a putty knife. Apply more filler than you need into the hole before smoothing and wiping off any excess. Once the filler is dry it will need to be sanded down to match the surrounding surface.
Caulk between woodwork and walls
Decorators caulk will help to create a seamless join between your woodwork and the walls. Using a sealant gun to apply the caulk between walls and woodwork you can create the perfect surface. Make sure that any extra caulk is removed using a putty knife or simply wipe away with a damp cloth.
Protect areas with masking tape
Whether you paint your walls first or your woodwork first, using masking tape you can help to keep paint away from the surfaces that shouldn’t be painted. Low tack masking tape is perfect for using on recently painted walls or wallpaper as it won’t leave any residue or pull off paintwork when removed. Clean edge masking tape is great for creating nice clean lines and can be used on a range of surfaces including glass. As well as standard masking tape there is also a full range of exterior masking tape that is UV and waterproof for those hard external jobs.
Once all your surfaces have been fully washed, sanded, filled and masked you can then start the painting process. Not only will the painting part of the job go quicker now the surface is properly prepared but you will also get a much better finish that will last a lot longer. It may seem like a lot of work but preparing properly is well worth the investment for the quality of finish that you get.