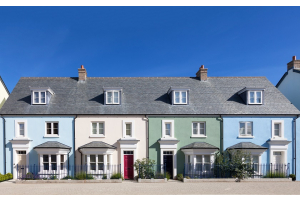
- Tinted Paints
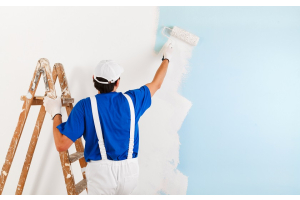
- Interior Emulsion Paint
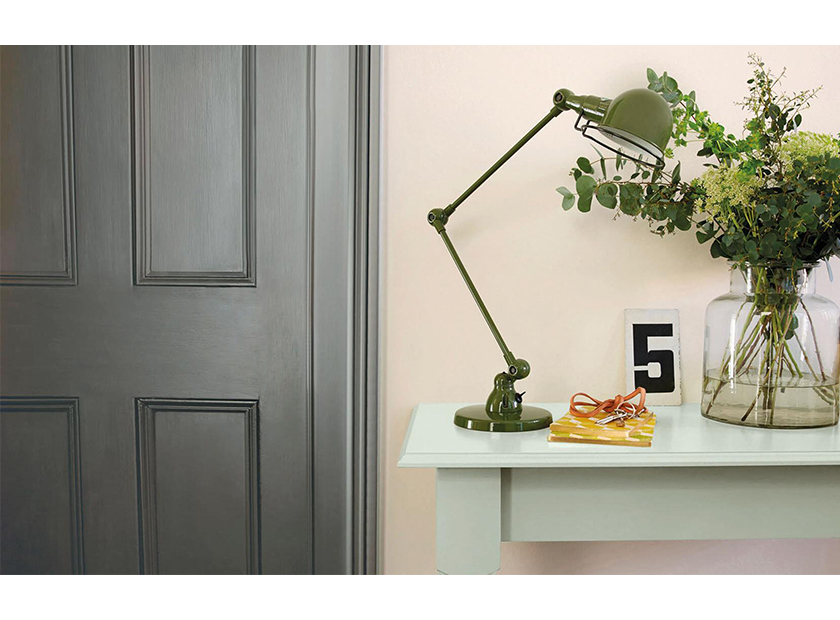
- Interior Trim Paint
- Interior Varnishes & Oils
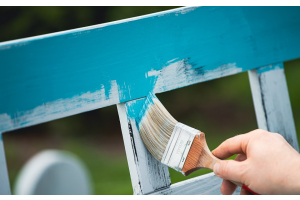
- Interior Furniture Paint
- Anti Mould Paint
- Anti Damp Treatment
- All Surface Primer
- Special Surface Primer
- Floor Paints & Coatings
- Exterior Paint
- Exterior Masonry Paints
- Exterior Trim Paints
- Exterior Paint Undercoat
- Exterior Oils & Varnishes
- Shed & Fence Paints
how to
-
 October 18, 2023Posted: October 18, 2023Read more
Introduction
Painting skirting boards may seem like a small detail, but it's one that can significantly refresh and transform a room. Whether you're renovating your home or simply looking to update a space, the skirting boards often serve as the finishing touch that ties everything together. In this tutorial, we'll explore the best way to paint skirting boards, from choosing the right paint to mastering the technique for a flawless finish.
Why Skirting Boards Matter
-
 July 27, 2023Posted: July 27, 2023Read more
Whether you're revamping your interiors or freshening up your exterior doors, painting a door can transform the look of your space. But it's not always a straightforward task. The surface type, choosing the right paint, and the painting technique are just some of the factors that can make painting doors a bit daunting. However, with the right information, you can achieve a professional finish that boosts the aesthetic appeal of your entire space.
1. Choosing the Right Paint for Doors
Choosing the right paint is key to a successful door painting project. Different door types require specific paint types for the best results.
- What kind of paint do you use on doors? There are various types of paint you can use on doors. The choice largely depends on the material of the door. For instance, wood doors require a different paint type compared
-
 May 23, 2023Posted: May 23, 2023Read more
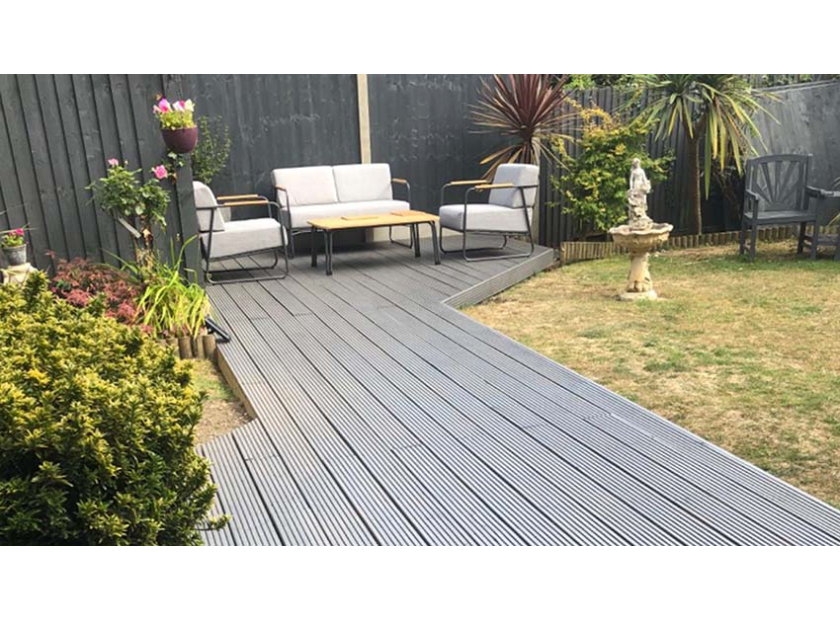
If you're looking to transform your outdoor space and give your decking a fresh, new look, painting or varnishing is a great option. Not only does it enhance the appearance of your deck, but it also provides protection against the elements. In this guide, we'll walk you through the step-by-step process of how to prepare, clean, and painting/varnish your decking, ensuring long-lasting and professional results.
Preparation, how to remove decking paint and prepare decking for painting.
Before diving into the painting/varnishing process, proper preparation is crucial for a successful outcome. Follow these steps:
1. Clear the deck: Remove all furniture, plants, and other objects from
-
 April 24, 2023Posted: April 24, 2023Read more
A Comprehensive Guide to Hiring a Professional Painter and Decorator in the UK
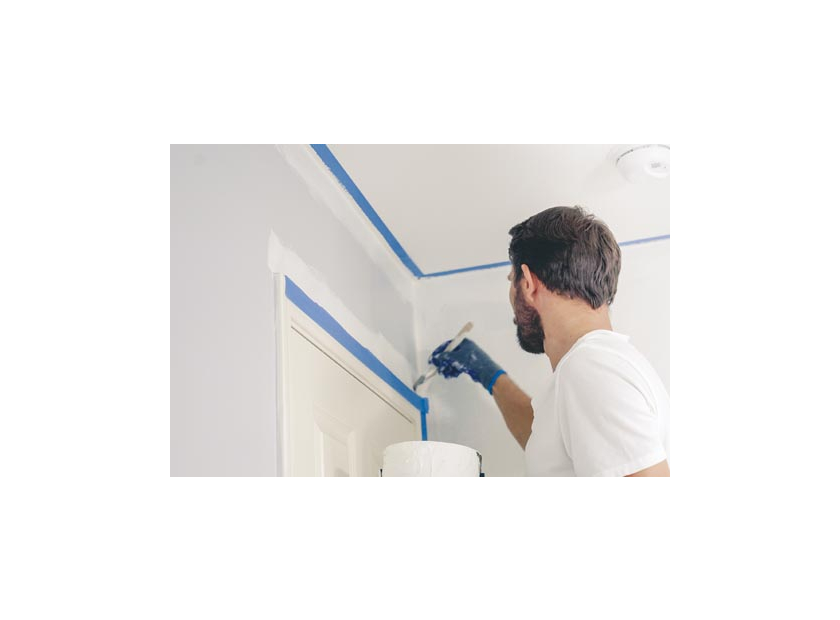
Are you considering a home decorating project but unsure whether to DIY or hire a professional painter and decorator? While DIY may seem like a cost-effective option, it can be time-consuming and challenging to achieve a professional finish without the right skills and tools. Hiring an experienced painter and decorator can save you time and ensure quality results. Here's a comprehensive guide to hiring a painter and decorator in the UK.
1) Ask for Recommendations
Start by asking friends or family for recommendations. Word of mouth is often the best way to find a reliable painter and decorator. Ask for referrals, and request pictures of their previous work to get an idea of their skills and expertise.
2) Conduct an Online Search
If you don't have any recommendations, you can search online platforms
-
 April 21, 2023Posted: April 21, 2023Read more
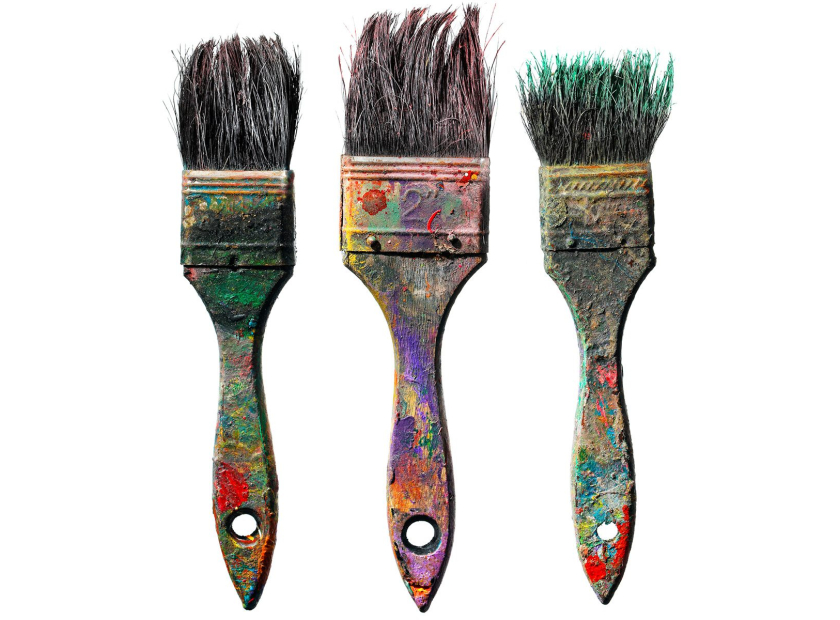
The Importance of Cleaning Your Paint Brushes
Premium trade quality paint brushes can last for years if they are cared for correctly. They are a crucial investment for anyone seeking a professional finish. By cleaning your brushes thoroughly after each project, you can extend their lifespan and maintain their effectiveness. Spending a few extra minutes on maintenance and cleaning now can save you both time and money in the future.
As a professional tradesperson, you know that the quality of your tools and equipment can greatly impact the outcome of your work. Investing in high-quality paint brushes is essential, but it's equally important to properly
-
 April 17, 2023Posted: April 17, 2023Read more
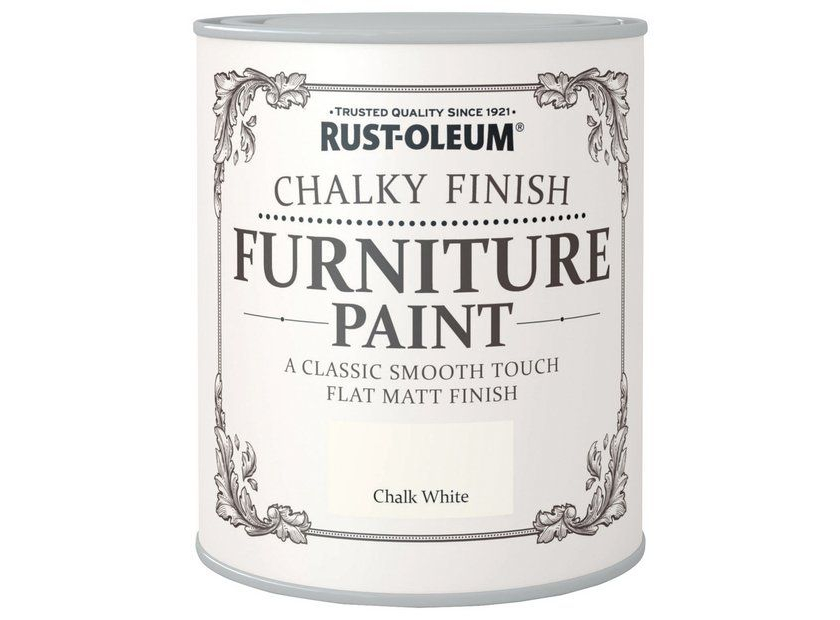
Revitalise Your Furniture: A Guide to Upcycling with Furniture Paint
If you're looking to breathe new life into your old, tired furniture, upcycling with furniture paint is a fantastic way to do it. With just a lick of paint, you can easily give your furniture a new lease of life and add a personal and classy touch to your home. In this comprehensive guide, we will walk you through the step-by-step process of upcycling your furniture with furniture paint, using the correct equipment and preparation for a fun and artistic DIY project.
Prep
Preparation is key to ensure a successful furniture painting project. Start by placing your chosen furniture piece on a dust
-
 March 11, 2022Posted: March 11, 2022Categories: Painting & DecoratingRead more
How to paint skirting boards
Before you begin
What colour should I paint my skirting boards?
The first decision you will need to make is the which colour to paint your skirting boards.
Darker skirting boards tend to look more modern and contemporary and dark colours easily hide any marks and dust and lighter skirting boards will make the room feel bigger. Whereas lighter colours can provide colour and brighten a natural dark room whilst providing a crisp and airy effect effect
Gloss finishes are harder wearing than other finishes, so are well suited to skirting boards. If you don’t want the full gloss effect, satin finishes are subtler but can still cope with knocks and scratches.
Tip
You should paint your walls first and your skirting boards last. By painting a wall beforehand, you’ll avoid
-
 March 04, 2022Posted: March 04, 2022Read more
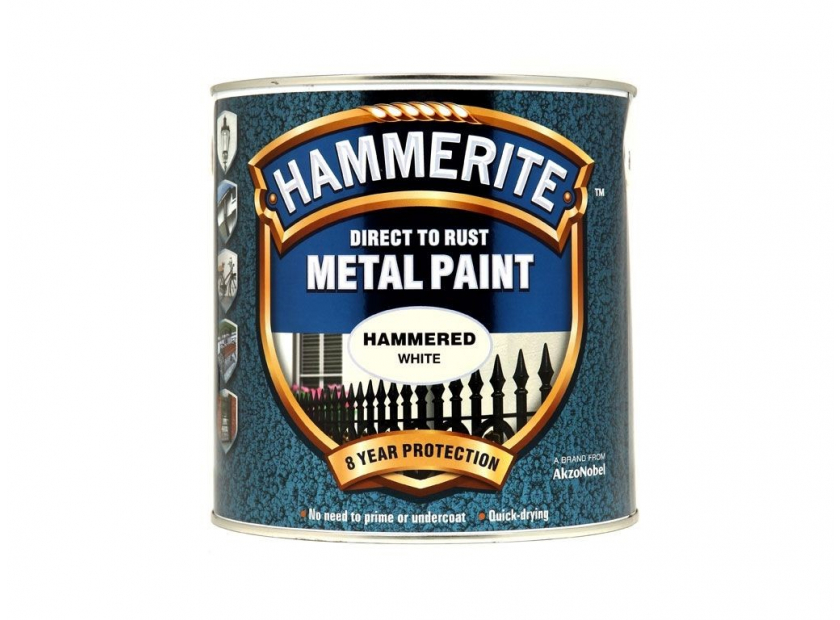
How to paint a metal garage door - Using Hammerite
Useful tip: We advise painting your metal garage door on a dry day with temperatures above 10 degrees. This ensures the paint will dry correctly and your endeavour won't be wasted. If you’re painting a brand new garage door, it may already have a powder or primer coat so you can skip ahead to step five.
Step 1. Remove old paint Lay down a dust sheet and put on a mask and goggles to protect yourself from dust. To help you get the best finish on your door, you need to get rid of blistering, flaking or bubbling paint. Use a flat scraper to remove the old paint so the surface is smooth. For the rest of the door, use a piece of 180 grit sandpaper and quickly rub down the surface. Open the door and do the same to the edges.
Step 2. Clean the door Use a sugar soap solution and sponge to clean the door and remove

Recent Posts
April 05, 2024
March 22, 2024